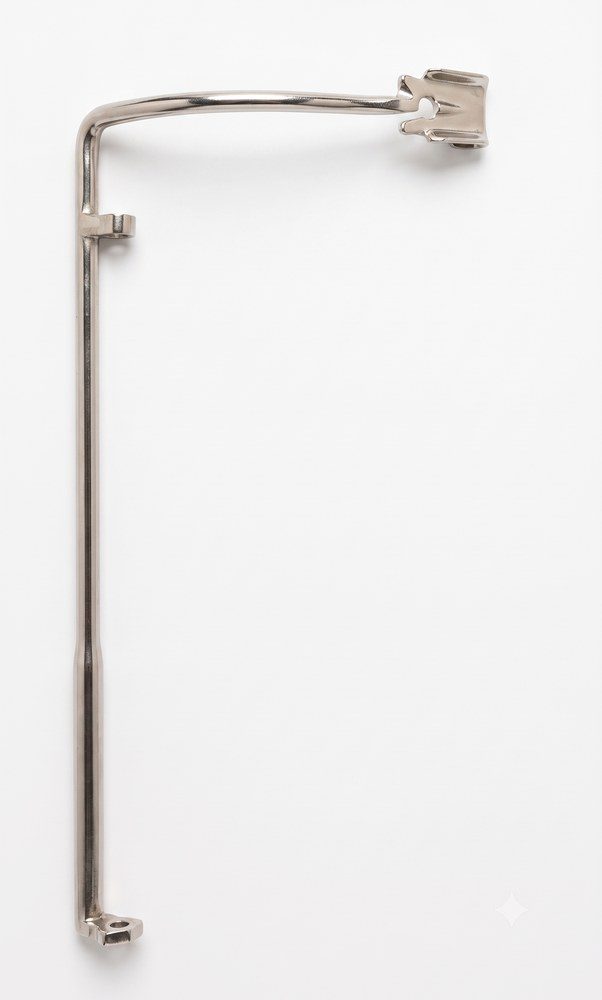
A pressure finger, also called a presser finger, works with the flyer on a speed frame or roving frame. Its condition and fit deserve attention when a mill investigates roving winding problems. A replacement should be selected from the machine details and actual fitting dimensions, rather than from a similar-looking photograph.
What does a pressure finger do
The presser finger is part of the roving path and package-winding arrangement at the flyer. Its working surface, profile and movement must suit the installed assembly. Roving quality also depends on the drafting, tension and winding settings, so a winding defect should not automatically be blamed on this single component.
Signs that deserve inspection
- Grooves, burrs or a rough contact surface: check the surfaces along the roving path for visible damage or fibre-catching edges.
- Bent or cracked parts: compare the profile with a correct serviceable part and the machine documentation.
- Loose fitting or restricted movement: inspect the mounting and associated flyer parts for wear, contamination or interference.
- Repeated problems at one position: compare that position with a neighbouring serviceable position, including the flyer, bobbin and machine settings.
Stop and isolate the machine according to the mill's procedure before inspection. Do not touch moving flyers or attempt adjustments while the frame is running. Follow the machine manufacturer's maintenance instructions.
What to match before buying a replacement
Start with the speed-frame make, exact model and any original part reference. Check the mounting arrangement, overall profile, contact geometry, working clearance and direction of fitting where applicable. If a machine has been modified, a model name alone may not identify the installed part.
Keep a drawing or a sample available. Include clear photographs from more than one angle and identify which dimensions were measured. A designation such as 16x6 or 16x7 is a product identifier; do not assume that it describes every fitting dimension.
A practical maintenance routine
Include the pressure finger in the mill's planned flyer and roving-path inspection. Remove accumulated lint using the method approved for the machine. Record recurring wear and replace damaged parts after checking the associated assembly. Do not change wrap counts, loading or machine settings based on a general article; use the applicable OEM instructions and the mill's process requirements.
After fitting, a qualified technician should check clearance and movement, complete the specified start-up checks and monitor the affected position during a controlled production trial. Keep the part reference and inspection notes for the next purchase.
Vindex pressure finger options
Our pressure finger range includes listed variants for Electrojet, Toyoda and selected LF-series applications. Examples are Electrojet 16x6, Electrojet 16x7, Marzoli LF4200 and Toyoda FL16. Each enquiry still requires confirmation against the installed part.
Details to send with your enquiry
- Machine make and exact model
- Original part number, drawing or sample reference
- Photographs and measured fitting dimensions
- Required quantity and delivery destination
- A short description of any repeated wear or winding problem
Request pressure finger information Ask on WhatsApp
Terminology reference: Flyers and presser fingers for roving machines. This is a general selection and inspection guide; use the instructions for your installed machine.